Understanding the Appeal of DIY Wood Slat Wall
The rise of DIY projects has transformed interiors, making them not just personalized, but also a testament to individual creativity. A diy wood slat wall is a popular choice for homeowners looking to redefine their spaces dramatically. These panels are not only visually appealing but also serve multiple functional purposes. From enhancing acoustics to adding a warm ambiance, let’s explore why this aesthetic choice has gained traction in modern decor.
Benefits of Installing DIY Wood Slat Wall
Opting for a DIY wood slat wall brings an abundance of benefits to your interior design arsenal:
- Acoustic Improvement: Wood slats can significantly reduce sound reverberation, creating a more serene environment, especially in open spaces.
- Visual Appeal: With their sleek lines and natural finish, wood slat walls add a contemporary touch to any room, appealing to both modern and minimalist aesthetics.
- Customization: You can choose the wood type, color, and spacing of slats to match your existing decor or create an entirely new theme.
- Easy Installation: The straightforward design allows for easy home installation, making it a perfect weekend project.
- Increased Property Value: A well-executed DIY wood slat wall can enhance the value of your home, appealing to potential buyers with its design innovation.
Design Variations for DIY Wood Slat Wall
When it comes to design, the potential for creativity is vast. Here are some popular variations:
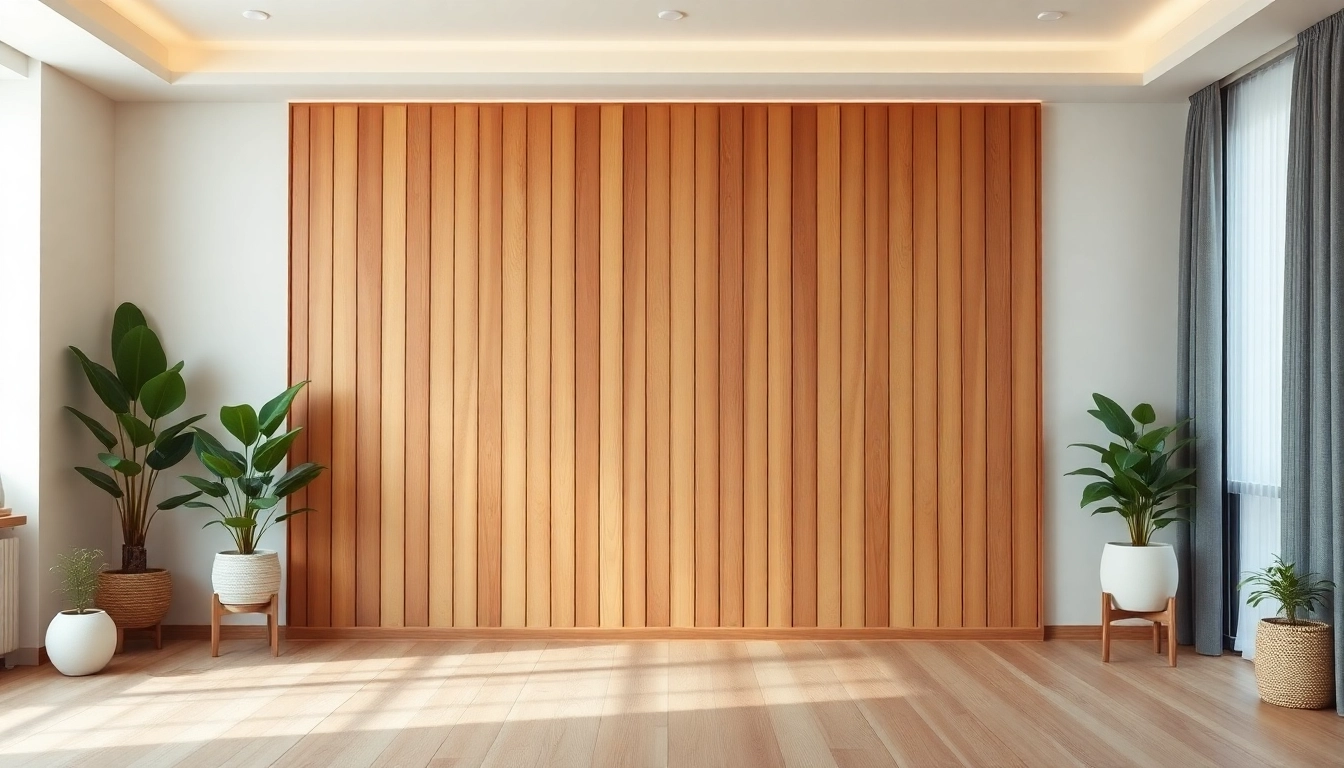
- Vertical Slats: A classic design choice that elongates the space vertically and gives a clean, modern look.
- Horizontal Slats: Ideal for making a room appear wider, horizontal slats can create a more laid-back and open atmosphere.
- Patterned Arrangements: Combining various sizes and spacing can create patterns like chevrons or even geometric designs that stand out as artwork.
- Mixed Media: Pairing wood with metal or fabric can add texture and depth to your design.
- Integrated Lighting: Incorporating LED lights behind or within slats can create a stunning visual effect and ambiance.
Choosing the Right Materials for Your DIY Wood Slat Wall
Selecting the right materials is crucial for durability and aesthetics:
- Wood Type: Popular choices include pine for its affordability, oak for a higher-end look, and cedar for its natural resistance to decay.
- Finishes: Consider staining or painting the wood to align with your preferred color palette. The type of finish can also influence the wood’s longevity.
- Support Frame: Ensure you have a proper mounting structure; depending on your wall type, you may need plywood or furring strips for support.
- Acoustic Panels: For enhanced soundproofing, integrating acoustic panels behind the slats is an excellent option.
Planning Your DIY Wood Slat Wall Project
Before you embark on your DIY wood slat wall project, thoughtful planning is essential. Here’s how to prepare:
Measuring Your Space for the Perfect Fit
Accurate measurements are vital for a successful installation. Use a level and tape measure to figure out the height and width of the wall where the slats will be installed. Don’t forget to account for any fixtures or furniture that may obstruct the view.
Sketching Out Your Design Ideas
Visualization can help in determining the pattern and spacing. Make a rough sketch to see how different styles might look. You don’t need to be an artist; simple diagrams will suffice to help you brainstorm valid design options.
Gathering Essential Tools and Materials
Now that you have your measurements and designs set, it’s time to gather your tools. Here’s a basic toolkit you might need:
- Measuring tape
- Level
- Stud finder
- Power drill and screws
- Wood saw (manual or electric)
- Finish nailer or hammer
- Sandpaper or sanding block
- Paint or stain (if applicable)
- Protective gear (gloves, goggles)
Step-by-Step Installation of DIY Wood Slat Wall
Follow this detailed guide for installing your DIY wood slat wall efficiently:
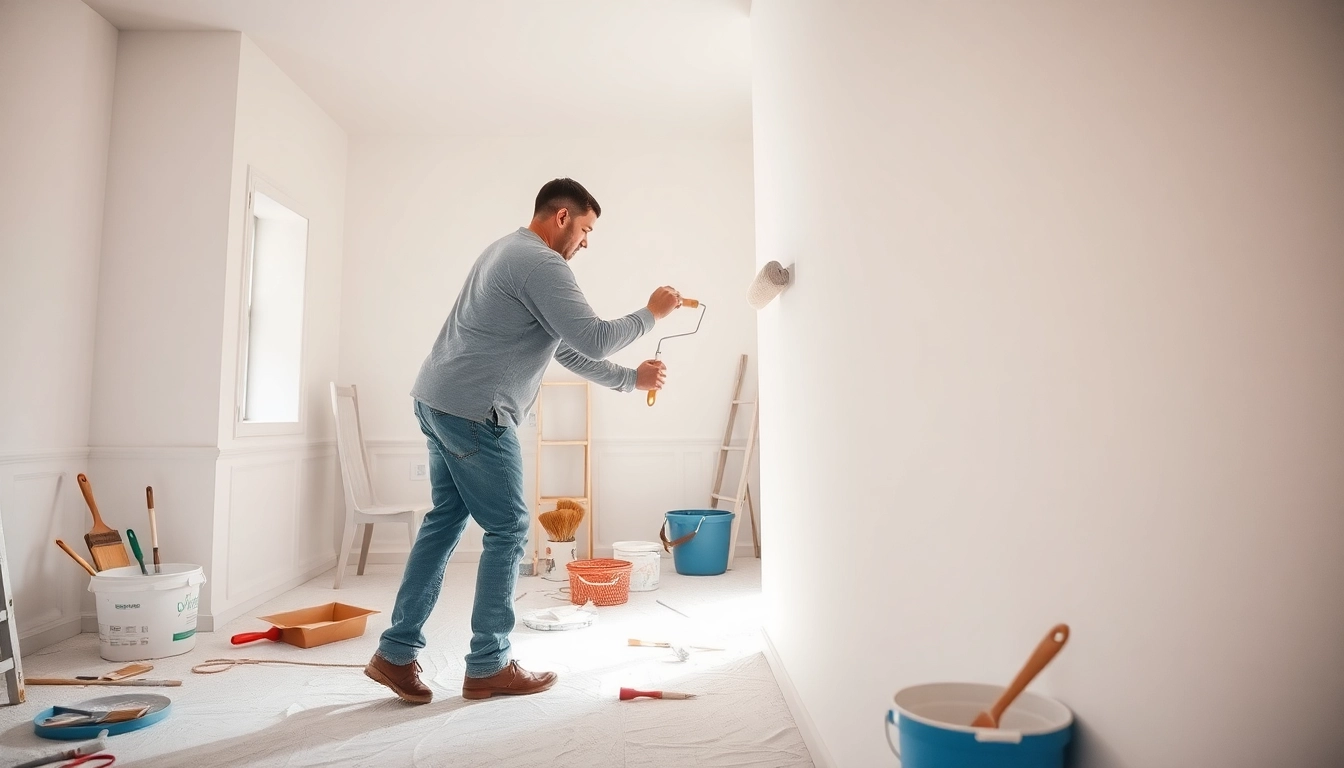
Preparing the Wall Surface for Installation
Ensure your wall surface is clean and free of any obstructions or irregularities. If it’s a newly painted wall, allow sufficient time for the paint to fully cure before beginning the installation. Remove any nails, screws, or hooks to create a smooth surface.
Attaching Slats Securely and Evenly
Start your installation from one corner and work your way across. Use your level to ensure slats are straight as you go. Choose the spacing between slats based on your design; maintain consistency throughout. A finish nailer can help secure the slats, but screws can provide additional strength, especially in high-traffic areas.
Finishing Touches: Sealing and Staining Options
Once all slats are installed, you may choose to stain or paint them. Make sure to use high-quality products that protect the wood and enhance its natural beauty. Additionally, sealants can add durability against wear and tear, prolonging the lifespan of your wood slat wall.
Maintaining Your DIY Wood Slat Wall
Keeping your DIY wood slat wall in optimal condition involves some routine tasks. Here’s how you can maintain it:
Regular Cleaning Tips for Wood Slat Walls
For day-to-day care, a microfiber cloth or a vacuum with a brush attachment works well for removing dust. If deeper cleaning is needed, use a damp cloth with a mild cleaner, taking care not to saturate the wood. Regular maintenance prevents build-up and preserves the wood’s integrity.
Repairing Minor Damage and Wear
Over time, wood can develop scratches or stains. For minor dings, sand the affected area lightly and apply matching stain to blend it in. For larger repairs, you may need to replace specific slats, ensuring the new wood is treated similarly for consistency in appearance.
Enhancing Aesthetics with Seasonal Decor
Wood slat walls make for a great backdrop for seasonal decorations. Consider adding hooks or clips to hang seasonal wreaths, artwork, or decorative lights, allowing your slat wall to remain dynamic and changeable throughout the year.
Real-Life Inspirations for DIY Wood Slat Wall
Now that you’ve learned about the planning and installation process, it’s time to look at how others have successfully implemented their DIY wood slat walls:
Before and After Transformations
Countless homeowners have transformed drab spaces into chic vignettes with wood slat walls. For example, a plain, painted wall can be instantly elevated with the installation of vertical slats, introducing texture and style.
Interior Styles Featuring DIY Wood Slat Walls
Wood slat walls fit seamlessly in various interior styles, including:
- Mid-Century Modern: The clean lines and organic shapes of wood slats enhance this retro aesthetic.
- Scandinavian: Bright, airy spaces benefit from the natural warmth of wood.
- Industrial: Combines wood slats with metals for a trendy urban look.
- Rustic: Achieve a cozy, cabin-like feel with unfinished or reclaimed wood slats.
User Experiences and Testimonials
Feedback from those who have tackled their own DIY wood slat wall projects often highlights the satisfaction of a job well done. Many users note that the project not only improved their space aesthetically but also provided an enjoyable hands-on experience.